- PO Box 25006 Phoenix, AZ 85002
- E-mail : [email protected]

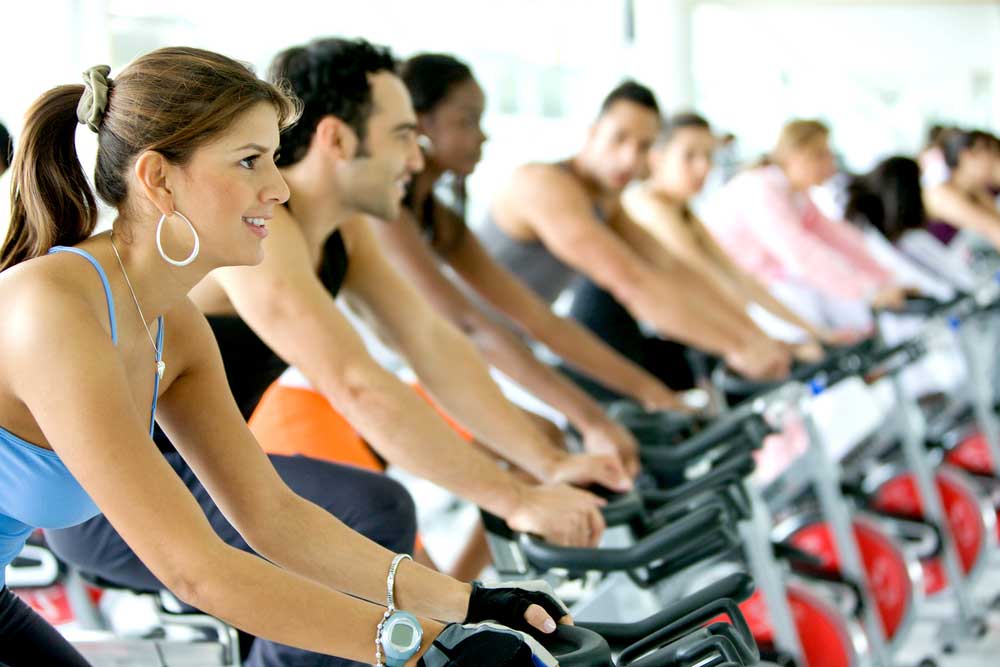
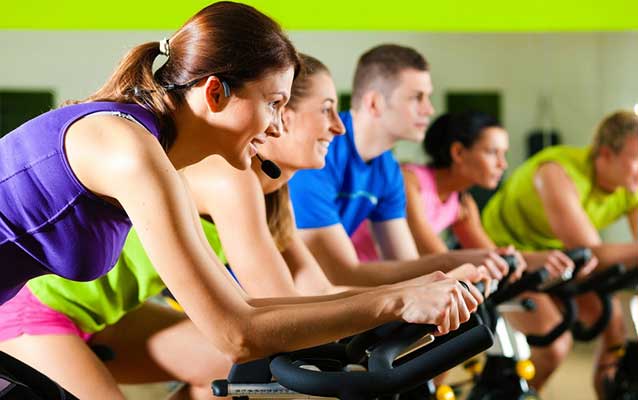
Whether you want to slim down for bathing suit season, a special event, or the holidays, exercise needs to be part of the weight-loss equation. The reason: It will help you preserve muscle mass, which is healthier for your body and better for your appearance; plus, maintaining muscle will make your weight-loss easier to sustain for the long haul. While a leisurely bike ride outside isn’t likely to help you shave off pounds, indoor cycling can: Besides torching 400 to 600 calories in a 45-minute class, indoor cycling also helps rev up your metabolism (your body’s calorie-burning engine) and offers the opportunity to tone and strengthen all of the muscles in your legs, glutes, and core—without bulking up your thighs.
To get the most out of an indoor cycling routine, you’ll want to heed some basic rules of nutrition and training. Here are 8 tips to help you ride strong, stay healthy, and slim down.
Eat before you ride. :- Contrary to what you may have heard about the benefits of exercising on an empty stomach, it’s smart to provide your body with the energy it needs to ride hard and get maximal benefits from the workout. Even if you take an early morning class, eat something small—such as a small banana, a slice of toast with jam, or a handful of whole-grain cereal—30 minutes before you ride. Do the same an hour or two before afternoon or evening cycling sessions by having a combination of protein and carbs (perhaps a small apple with a tablespoon of almond butter or a few tablespoons of trail mix). Besides helping you fuel up for the workout, eating beforehand can jump-start your metabolism, helping you burn extra calories, thanks to the thermic effect of food. Be sure to drink plenty of H2O before, during, and after the ride; your body needs a sufficient water intake to keep your metabolism humming and burning calories efficiently.
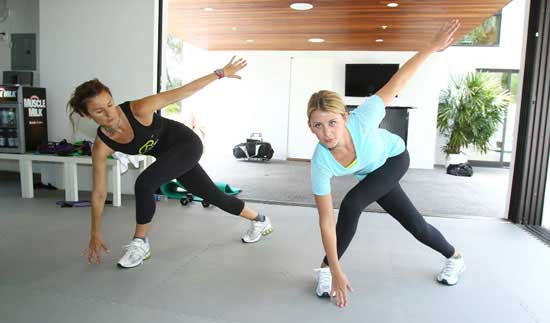
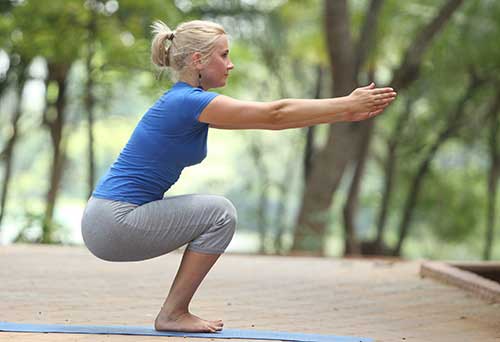
Do resistance training :- The more lean muscle you have, the higher your resting metabolic rate (RMR) will be and the more calories you’ll burn 24/7. To build muscle outside the cycling studio, perform at least one set of strength-training exercises for each major muscle group two or three times per week, advises Wayne Westcott, Ph.D., director of exercise science at Quincy College in Quincy, Massachusetts, and author of Get Stronger, Feel Younger. This way, you’ll add muscle mass and crank up your RMR in the process. Whether you use weight machines or free weights, resistance bands or Kettlebells is up to you.
Replenish your muscles properly:- Within an hour after your workout, consume a combination of carbohydrates and protein (such as 12 ounces of low-fat chocolate milk or a small handful of walnuts with a pear) to replenish your muscle glycogen stores. This will keep your muscles and your metabolism operating smoothly and prepare your body for your next workout.

Walk into any cycling class and you’ll see a variety of pedal strokes in motion. Some people’s legs look like pistons driving a crank up and down. Other people’s pedal strokes are choppy or herky-jerky, often with dead spots on the way around. Then, there are the advanced cyclists whose pedal strokes are as smooth as satin, as they skillfully guide the pedals around in finely tuned circles. Rather than mashing on the pedals, these riders have cultivated a refined rhythm to their pedal strokes, which makes their riding styles that much more efficient.
It takes time and practice to get there but the reality is: Everyone can improve their pedal strokes. And it’s worth the effort because smoother pedal strokes translate into a more proficient cycling technique that uses less energy. (Btw: Proper bike set-up, including the height of the saddle and its fore-aft positioning, is essential for achieving smooth pedal strokes.)
Anatomy of a Good Pedal Stroke
Believe it or not, an efficient stroke doesn’t involve pushing down then pulling up on the pedal: It has an oval-shaped or elliptical motion, even though a full pedal stroke is really a 360-degree circle, just like a clock face. There are four quadrants or sectors in that circle: From 12 o’clock to 3 o’clock, from 3 o’clock to 6 o’clock, from 6 o’clock to 9 o’clock, and from 9 o’clock to 12 o’clock. The goal is to cultivate a streamlined movement with consistent pressure all the way around that circle. Different techniques rely on slightly different foot positioning (toes pointed up, down or straight, for instance) as well as flexibility in the ankle and lower leg.
The Power of Practice
To perfect your pedal strokes, focus on one aspect at a time then gradually join them together, smoothing out the transitions, until you have one fluid movement all the way around. Various drills can help you hone the different portions of the pedal stroke. As you work to refine them, focus particularly on the top and bottom halves of the pedal stroke, emphasizing a gliding motion. Be sure to maintain good posture in your upper body and try to keep your hips relaxed, so that your leg muscles can work efficiently.

It’s easy to get lulled into a false sense that you’re working hard in an indoor cycling class, as you keep the pedals turning. What you may not realize is: You could be cheating during your ride. For starters, if there isn’t resistance on the bike, once that weighted flywheel is set into motion, it will stay in motion—true to Sir Isaac Newton’s laws of motion—regardless of whether you push against the pedals. This is one reason why it’s important to have sufficient resistance on the bike, so that you’re actually causing it to move.
Don’t just take my word for it. Try this experiment: Take all the resistance off the bike and stand next to it. Grab the closest pedal with one hand and make it turn as fast as you can for 8 to 10 revolutions; release the pedal (be careful to stay out of the way of the moving pedal) and watch how long it takes to slow down. As you can see, once it gains a certain momentum, the flywheel basically drives itself, which means that if you’re riding with low resistance, your legs are essentially being taken for a ride. Of course, sometimes it’s okay to dog it—like when you’re feeling slightly under the weather or you’re coming off an injury, or you just feel worn out and want to take it easy. But often people don’t realize they’re not working as hard as they should to reap the benefits they want from their cycling workouts; in these instances, they’re inadvertently shortchanging themselves.
Are you bouncing in the saddle?:- Usually you can sense if you’re bouncing but if you’re unsure, check yourself out in the mirror (if there is one) or ask a fellow rider to observe you (if there isn’t). If you’re bouncing, you probably don’t have enough resistance on the bike or you’re pedaling too fast. Either way, you’re doing yourself a disservice and you could end up with a whopping case of saddle soreness.
Can you feel the effort in your leg muscles? :-They shouldn’t be straining to keep the pedals turning (a sure sign: it’s a struggle to keep your pedal strokes smooth). But you should feel like your leg muscles are engaged and working reasonably hard to exert power and sustain RPMs of 50 or higher. To gauge how hard your legs are working, use the ratings of perceived exertion (RPE) scale or if the bike has a power meter, rely on it as a gauge.
Ultimately, you’re the one who can best tell if you’re cheating. Be honest with yourself by asking and answering these questions truthfully. You’re doing the work and you’re the one who stands to gain from it. There’s really no point in cheating yourself!

After an exhausting, sweat-inducing indoor-cycling workout, you might be tempted to hop off the bike and quickly head for the shower. Don't! Spend a few minutes stretching your hard-working muscles after dialing down your workout, and you can prevent or reduce post-exercise soreness and perhaps even enhance your flexibility. You can start with a series of upper-body stretches while you’re still on the bike, as you continue pedaling gently to let your heart rate come down slowly and avoid dizziness when you get off the bike.
After that, take a few sips of water, then climb off the bike and get ready to stretch the muscles in your lower body. Keep in mind: A slow, sustained stretch is the safest kind; stretch to the point where you feel mild discomfort (but go no further) and avoid bouncing which can lead to injury. Here are the most important lower-body stretches to do after a hardcore ride:
Calves :-Stand facing the side of your bike, and place the heel of your right foot on the floor and the ball of your right foot against the bottom of the bike's frame. (Your left foot should be flat on the floor.) Stand tall and gently lean toward the bike until you feel a stretch in your right calf muscles. Hold the stretch for 20 to 30 seconds. Switch legs.
Quads :-Your heart is a super machine. It works like a slave to keep us alive. It pumps so hard that it is able to pump blood to each and every organ of the body, every minute of the day. The heart has the ability to pump gallons of blood according to the requirement of the body.
Hamstrings :-Stand with your feet hip-width apart, then move your right foot about 12 to 15 inches forward. Place your right heel on the floor and lift your toes. Place your left hand on the bike or on your left thigh to help you balance. Bend your left knee, hinge forward at the waist, and reach toward your right toes with your right hand, while keeping your back flat. Hold this for 20 to 30 seconds. Switch sides.
Glute stretch :- Stand with your feet hip-width apart and hold onto the bike with your right hand for balance. Bend your knees and place your right ankle across your left thigh (just above your left knee). While keeping your back straight, push your butt and hips back as you ease into a squat (make sure your left knee doesn't extend past your left toes); you should feel the stretch towards the side and back of your right hip and glute area. Hold this for 20 to 30 seconds. Switch sides.